(SurvivalDaily.com) – No matter how full your armory is, it pays to know how to create your own weapons. You never know when you’ll be caught out and about without one (or when the ones you have might fail). Being lost in the woods without a way to defend yourself, or hunt for that matter, could be deadly. It’s always best to have a backup plan.
A bow is an ideal weapon because of its long range abilities and its stealth factor. It’s also far easier to make in the wild than most other weapons. Continue reading to see how one can be made.
Choosing Material
When it comes to the bow itself, you need a flexible yet hearty wood; this provides durability and makes it flexible enough to snap back into position after each use. It also ensures that your bow retains its shape long-term.
For the arrows, hardwoods such as maple work best. You want your arrow to be straight, true, and dense enough to pierce most targets. Avoid knots, and aim for a straight piece about 6 ft. long for the bow and 3 ft. long for the arrows.
Find the Belly
The belly of a bow is the part that faces you. Your grip should be somewhere in the center. One common mistake people make is trying to get the wood to bend in a way that isn’t natural or doesn’t follow the grain. Instead, test the wood first. How does it naturally bend? Going with the wood’s natural inclination is going to make it much easier to work with. Once you see how the wood wants to bend, mark the belly so you know where your notches should go as you’re working with your future bow.
Work the Wood
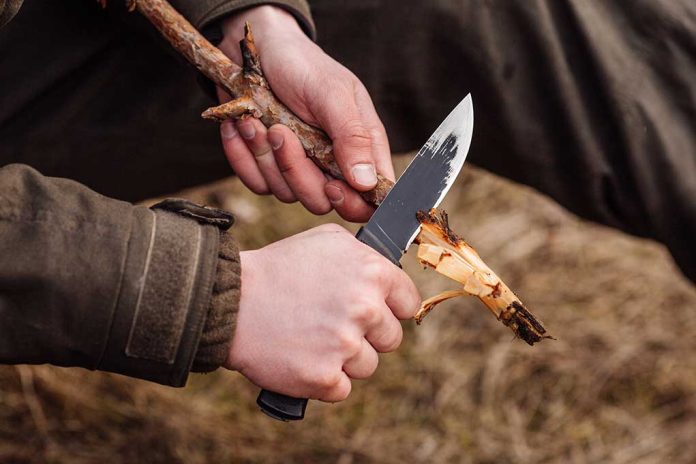
When carving wood for a bow, never carve on the outside of the belly. All carving is done on the inside in much the same way you would sharpen a knife or tighten lug nuts. What you do to one side, you do to the other in equal measure. Use a knife to trim away any wood in parts that aren’t very pliable.
The goal, here, is to achieve a nice, even bend. As you trim the wood, you’re thinning it out — this improves flexibility. Avoid areas that already bend easily.
This step also enhances the functionality of the bend of the bow itself. That’s why you don’t need to trim if a part is already highly flexible. Constantly test the bow as you work on it so you know when you’ve reached your goal.
Once you’ve trimmed the wood into a bow, make notches for the string along the sides, not along the “back” (the area opposite to the belly). Then, secure the string to the bow.
Arrows
Put a notch in the end of a straight shaft; this will serve as your arrow. Next, insert an arrowhead into the notch. Secure it with some type of glue.
If you don’t have access to modern adhesives, or you just want to make use of your existing resources, try heating up pine sap. You can add charcoal to this substance to enhance its durability and make it stretch. Dip the bottom of the arrowhead into the heated sap and slide it into the notch. Wrap the wood at the base of the arrowhead with string in order to secure it better.
Next, you’ll need to make another notch on the opposite end of the arrow for your “nock.” To fletch the arrows, you can use pine sap to adhere a split feather on either side, then secure it with string at either end. Or, use thick leaves instead. Place heated pine sap on the inside of the leaves; then, attach them to the arrow with the adhesive sides facing each other. Press down firmly and then wrap either end with string.
In a survival situation, you often need to get creative with materials. Not everything is going to be readily available, and you won’t always be able to walk into the local sporting goods or hunting store. That’s exactly why you should always have items such as paracord, a knife, and basic tools on your person.
Have you ever made your own bow and arrows? Have you ever practiced archery? Reply to your email and let us know, we would love to hear from you!
~Copyright 2021, SurvivalDaily.com


