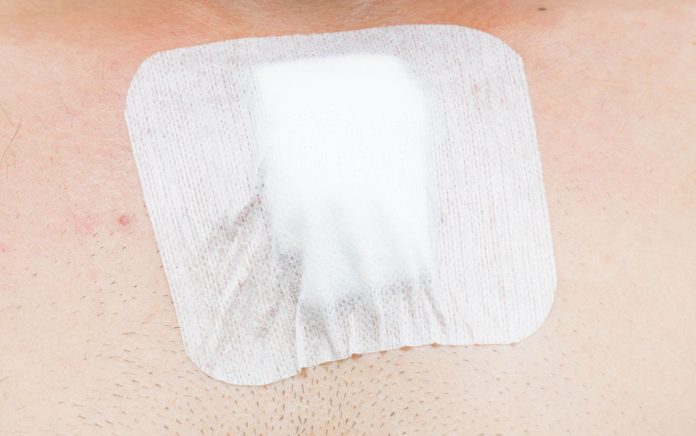
(SurvivalDaily.com) – Chest seals are also known as “occlusive dressings.” These items are most commonly found in trauma and emergency medical kits. Most people have no idea what they’re for, not to mention how to use them. The following content will explain this further.
This information isn’t intended to replace any professional assistance; we’re NOT doctors, and in the event that you need to use a chest seal, seek medical attention immediately.
When to Use a Chest Seal
Chest seals are used when there’s been an open chest injury causing penetration between the chin and belly button region. Such injury as this is normally caused by, but not limited to, shrapnel, a gunshot wound or a knife penetrating the chest wall. A patient with such a wound will have difficulty breathing and/or make a sucking sound as they breathe. They may also have other injured internal organs.
This type of injury can expose the chest cavity to pressure from outside, throwing off the pressure balance during inhalation and causing the injured lung to collapse. Doctors call this condition “pneumothorax.”
If the chest cavity continues to fill, with no ability for air to escape (from the injury or due to a non-vented chest seal), this pressure will become deadly due to stress on the heart, blood vessels and unaffected lung (“tension pneumothorax”).
The goal of a chest seal is to stop air from being sucked in through the wound, which keeps the lung from collapsing. The seal should allow the injured lung to reinflate, so pressure within the chest cavity can normalize. A vented chest seal also allows the excess air to escape, ceasing the development of tension pneumothorax.
How to Use a Chest Seal
- Find the penetrated area, along with any exit wound, which may not align with the entrance.
- Cover the wound with a gloved hand and apply pressure.
- Remove seals from the package without taking plastic backing off.
- Quickly clean the wound of blood, sweat, debris, etc. and resume pressure.
- With the seal next to the wound, slowly remove the backing as you roll the sticky side over the wound, making sure the seal is centered.
- Check that the seal is sticking and listen for hissing to make sure air isn’t getting through when the person inhales.
- If using vented chest seals, check that vent ports allow excess air to escape and that none are clogged.
- Repeat for additional wounds and seal all exit wounds.
If you should need a chest seal and don’t have one, JUMP Kits explains how you can make your own:
Now you know what a chest seal is. Have you ever considered what you’d do if you needed a bandage and didn’t have one? Check out antibacterial bandages that you can grow yourself. Don’t worry if you don’t have a green thumb; these grow almost everywhere.
Do you know of other obscure survival first aid items that preppers should know about? Did you find this article informative? Reply to your email and let us know! We would love to hear from you!
Copyright 2021, SurvivalDaily.com


